Pinblock Basics 101
The Single Block
Here is the Pinblock in all its glory, give it a spin, it deserves a closer look. This block is only 1cm wide and 1.5 cm long( .6 inches for us Westerners) but don't underestimate the little guy. The block was designed with many cool features which are explained on this page. Even though having all blocks exactly the same shape might sound liberating and easy, just like any other powerful tool it requires a bit of learning and experimenting before you can become a Pinblock pro.
Pixel Undercover
Just for a second do the unthinkable - imagine a Pinblock without any pins. Do you see it? Pinblock is now simply a colored square - more commonly known in our time as a "pixel". The easiest way to get started with Pinblocks is to master the two dimensional building before moving on to 4D. *remember* most of the images on this page are interactive, so make sure to click or swipe away at every picture!
Thinking In 2D
The three vertical connections
Your choices here are simple: connect using only one pin (left or right) or connect using both straight down the middle.
PIXELARTS

Basic pixelarts
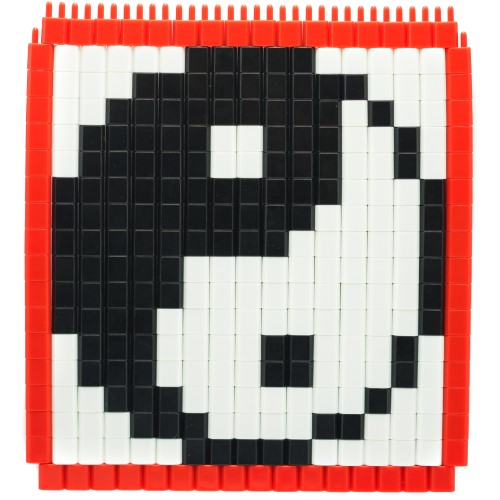
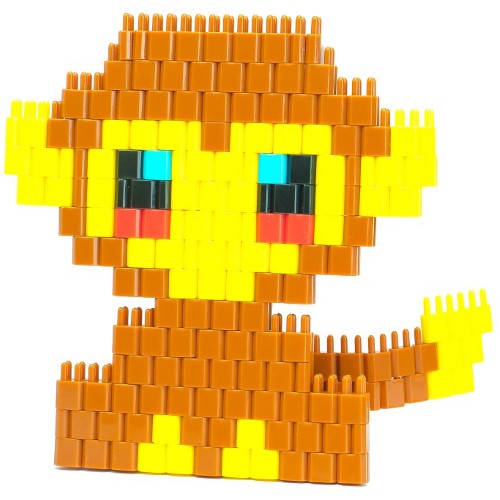
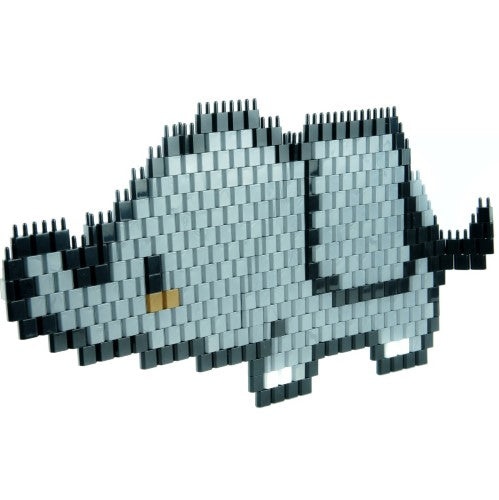
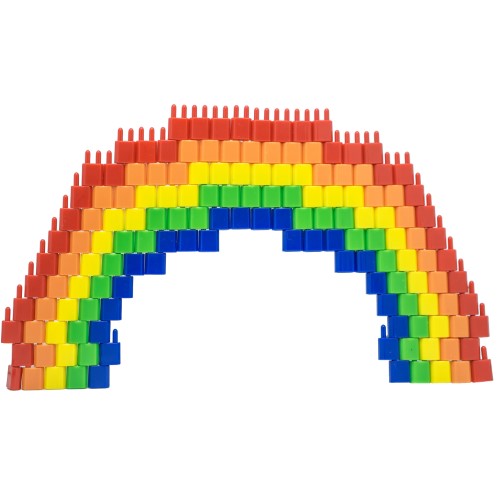
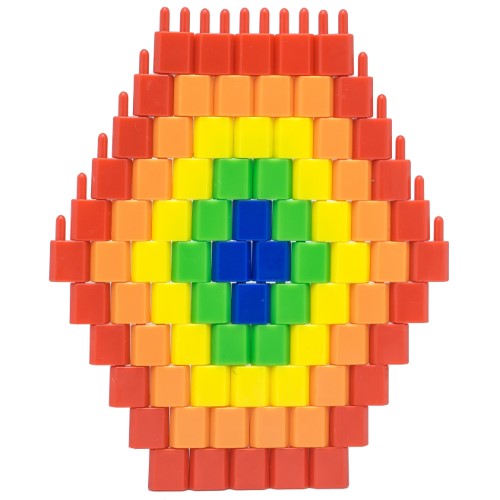
Only considering what you've just learned, you're already set to explore one of the most popular categories of Pinblock building – “pixelarts”.
For those who are out of the loop - just take any image of interest, pixelate it and start building by choosing the right Pinblock color that resembles a pixel from the image and vertically connect each Pinblock until the pixelart is complete!
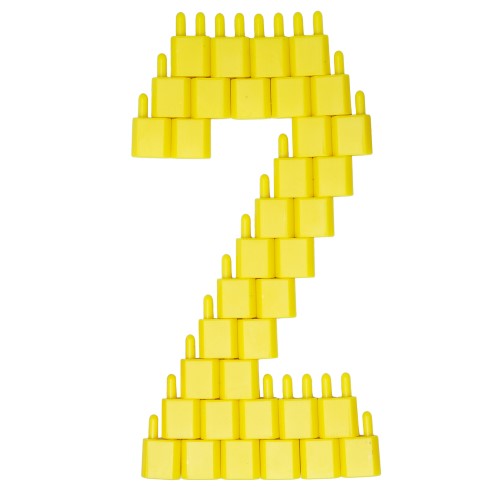
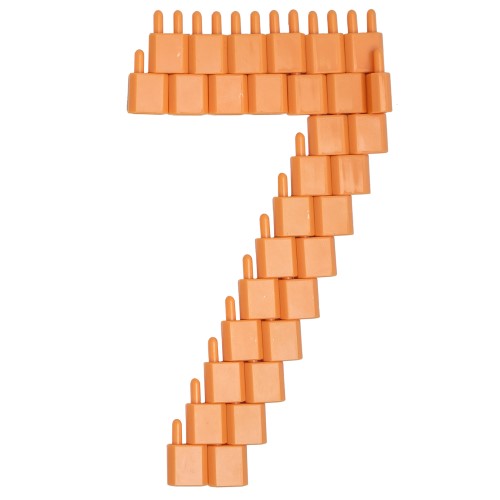
Securing rows
Simply vertical rows by themselves wouldn’t work. Think about it – if there are multiple rows simply going up, how would they stay connected among themselves horizontally? The solution is simple, as you can see in the example to the left (or above) the top and bottom row needs to be shifted over. That row(s) would now become the connecting point for all Pinblock columns.
Wrapping Pixelarts Up
Advanced Pixelarts
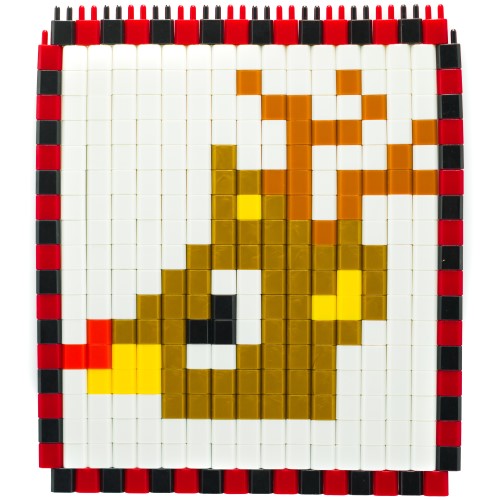
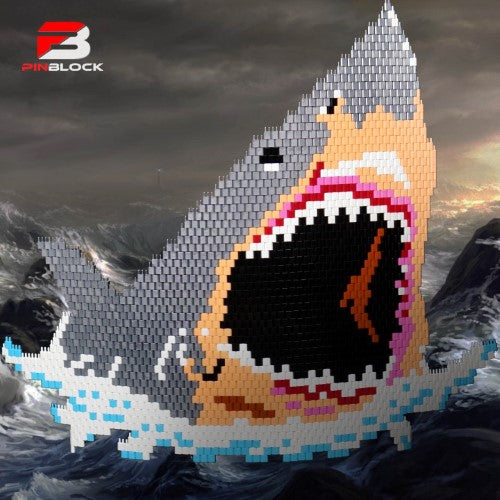
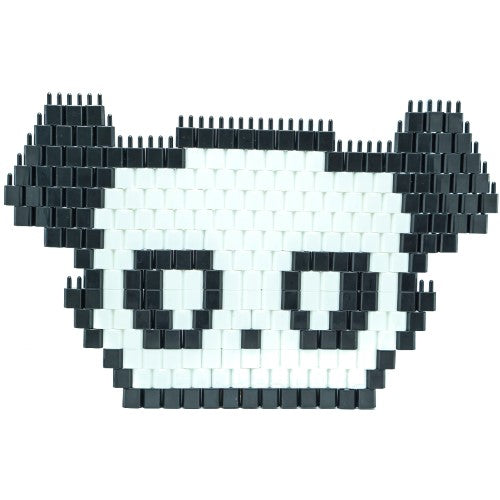
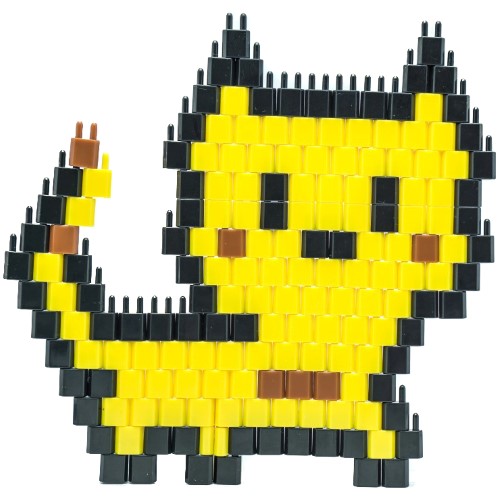
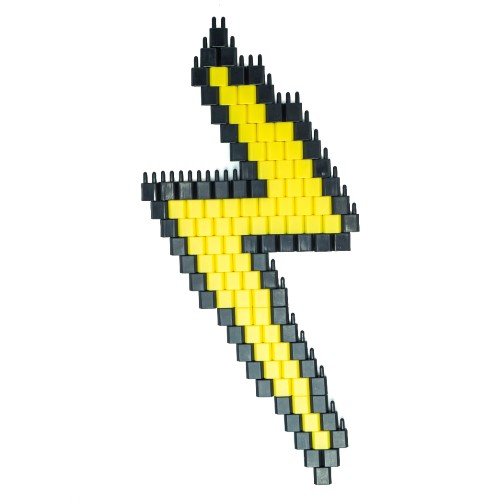
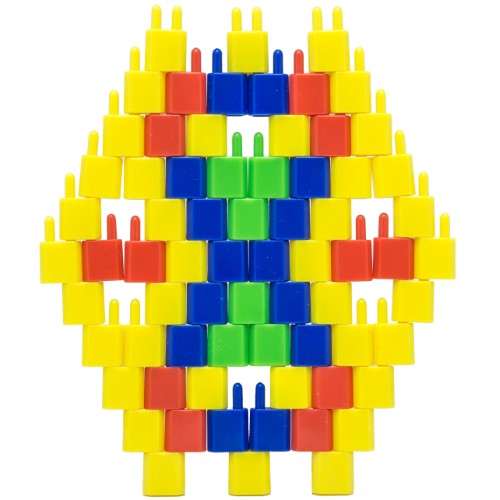
The simple method of building pixelarts works, but does not have the sturdiness that Pinblocks are known for delivering. If you cross every single row, meaning instead of building straight up in long rows you build where every row is shifted one pin to the left or one pin to the right, your pixelarts will remain intact until your 100th birthday.
If you’re making a very complicated pixelart, stick with the easy method. If you are freestyle building, or you’re making something small or simple, make sure to go the crisscrossed building style because that will maximize the durability for all of your pixelarts.
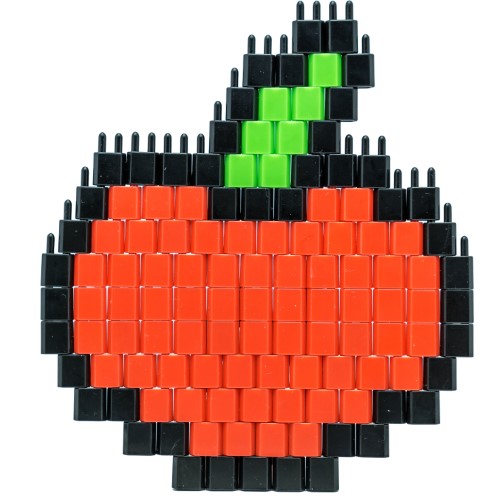
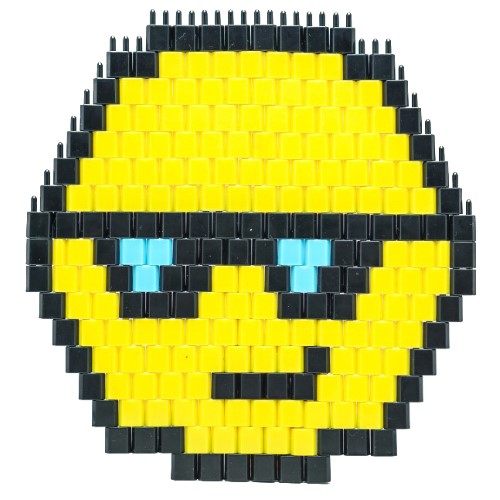

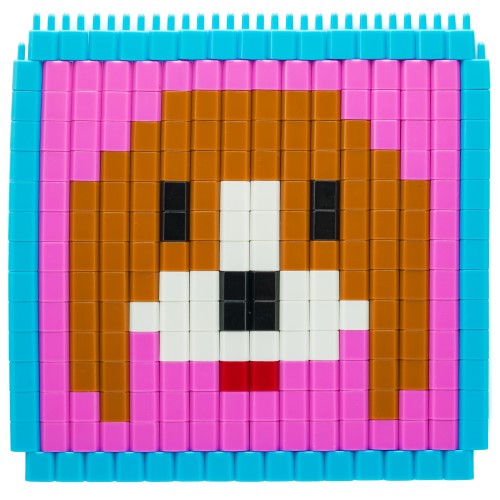
Quick Tip:
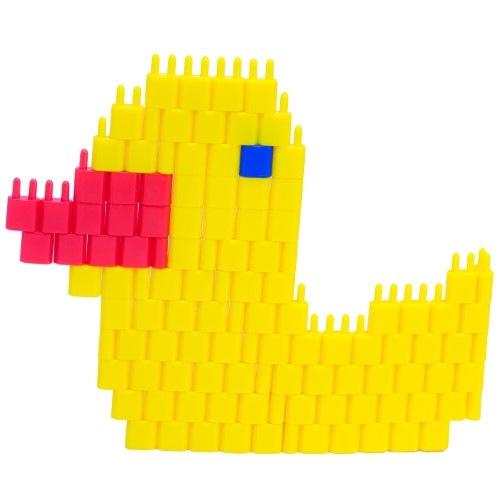
Pixelarts is a very quick start not only because they are easy to make but also because you don’t even have to come up with your own designs! As you see in the example to the right (or below) simply go to Google Images, or any other search engine, and look up anything of interest with the word “pixelart” tacked on. For variation of results, try other synonyms as well, for example “pixelated.” You will find a lot of inspiration or you can simply duplicate one with your Pinblocks!

Time to get 3D
Pins as Pivot Points
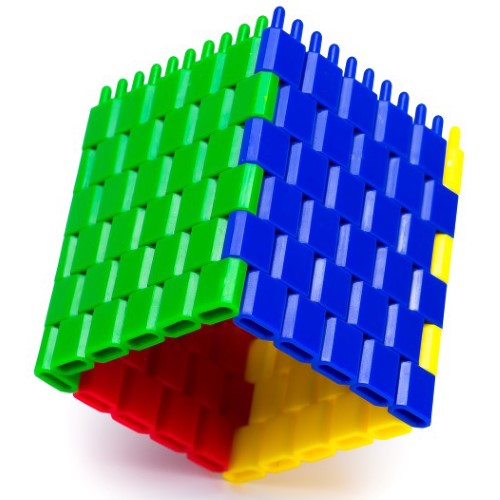
How do we make a pixel three dimensional? We simply rotate it towards us or away from us. With an actual pixel, since it’s completely flat and is bound to the surface of your screens, it wouldn’t really work; your Pinblocks however, are not flat and when you rotate one away or towards you, it opens up an entire new plane to build on.
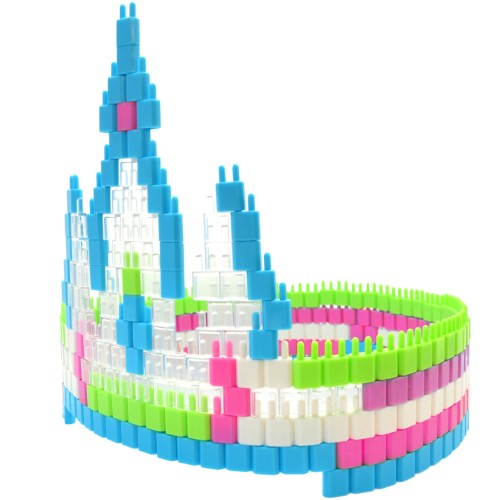
Getting started with 3D
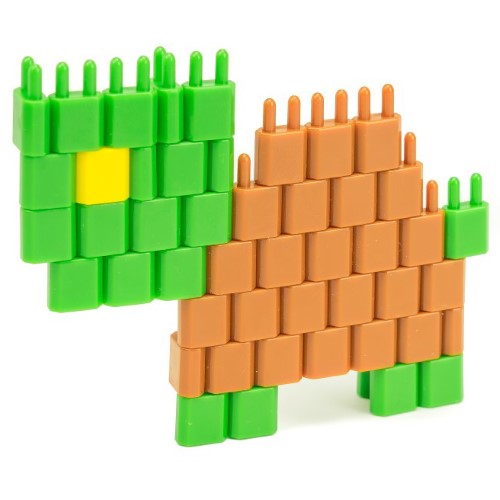
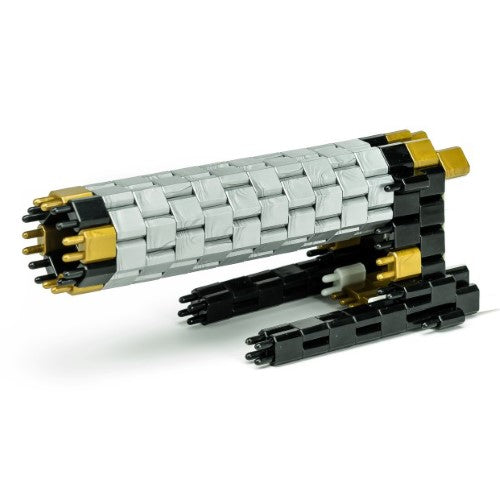
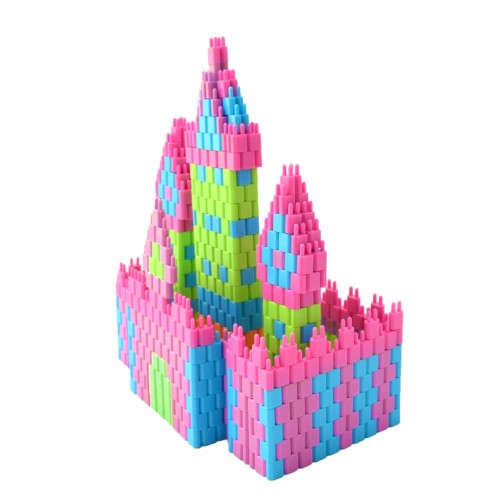
The easiest way to get a grasp on 3D building with Pinblocks is by building a castle. The wall surrounding a castle is actually just a flat row of Pinblocks that was bent in specific locations. As a rule of thumb, remember: whenever you want to start building out in the third dimension, just turn one of the blocks around one of the pins.

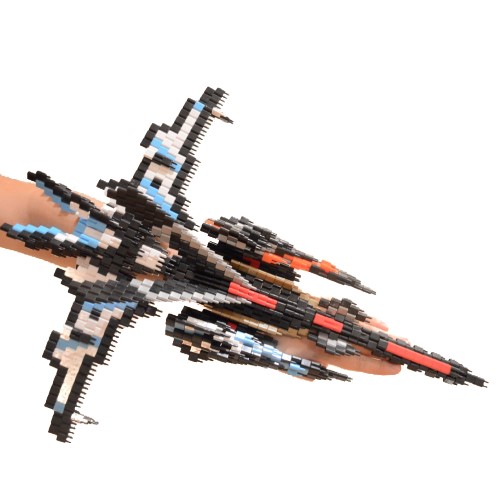
Getting Creative
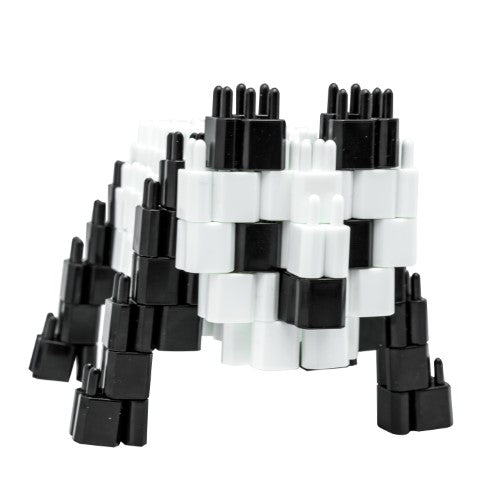
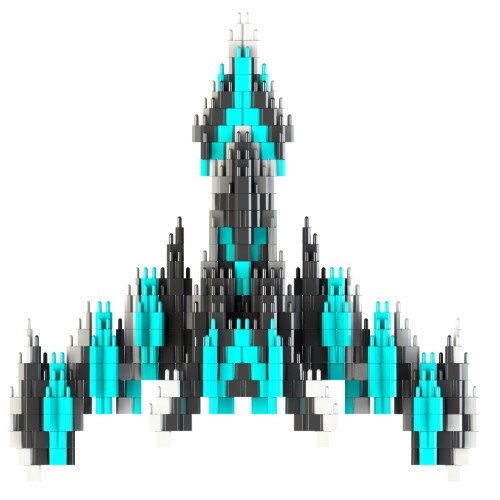
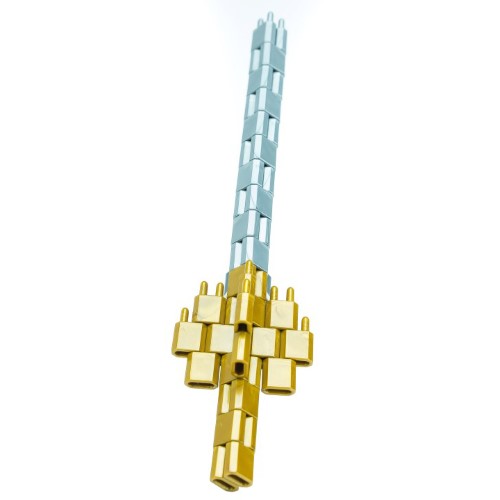

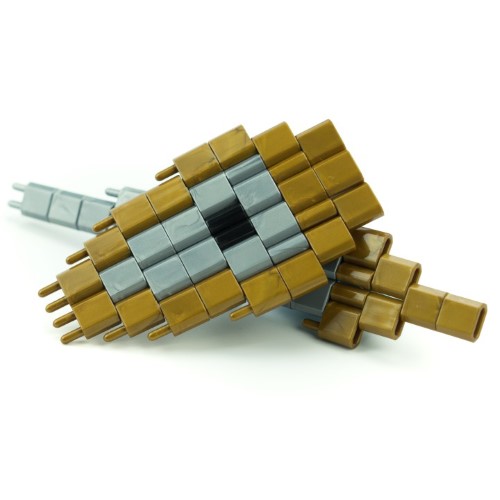
Getting Creative w/3D
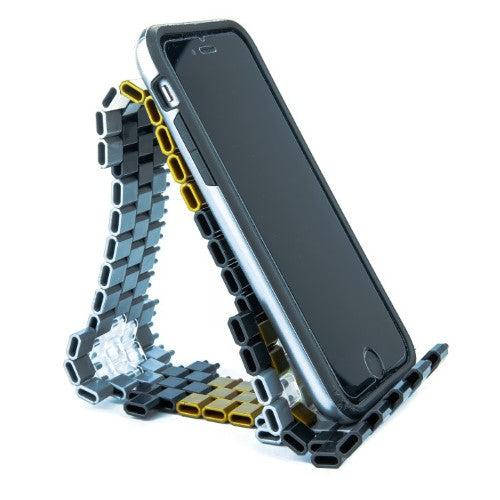
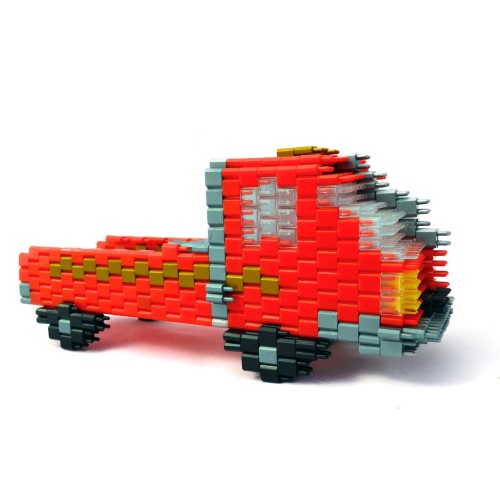
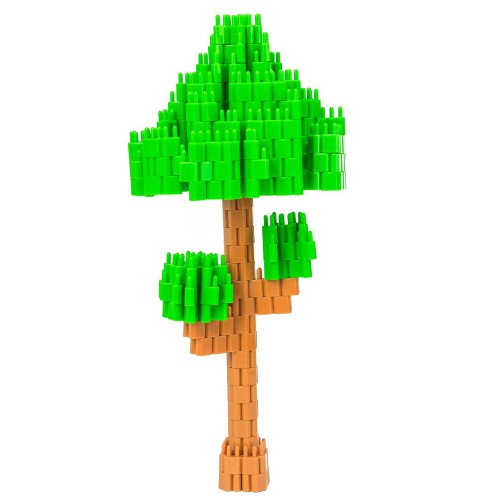
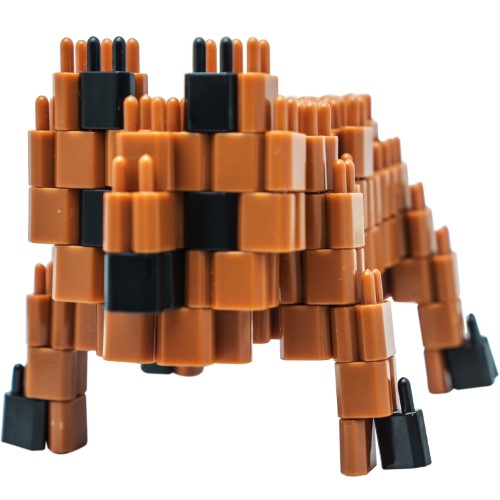
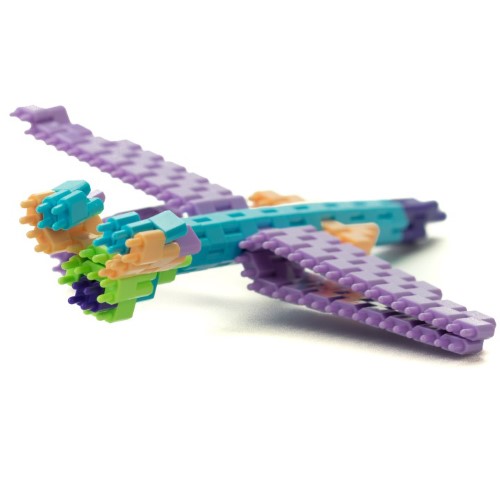
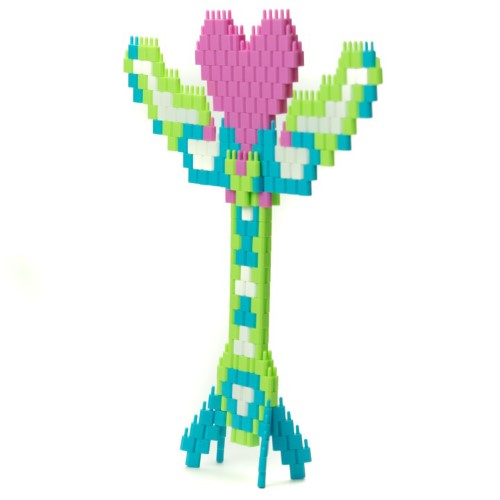
After getting the basic grasp on 3D building, play around with the blocks, build without even knowing what you are building. This type of mindless building will get your mind flowing as you discover new techniques of connecting Pinblocks. Rather as a tutorial or a guide, look at the above images of various 3D models that were built with Pinblocks as to an inspiration of “it’s possible.” Pinblock builders and we have created every idea that came to our minds and so can you; if you don’t exactly know how to build something, but you envision it clearly in your mind, go for it any way you think is best – you’ll learn and figure it out along the way.
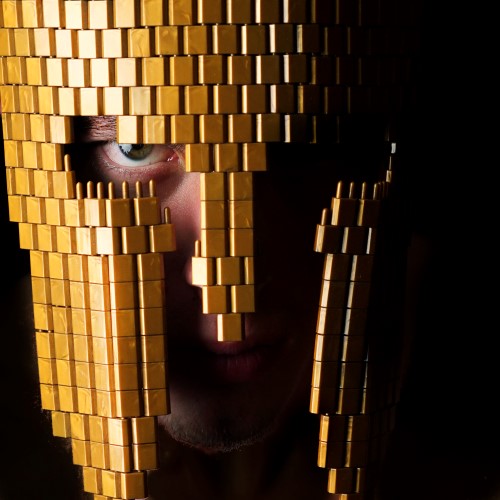
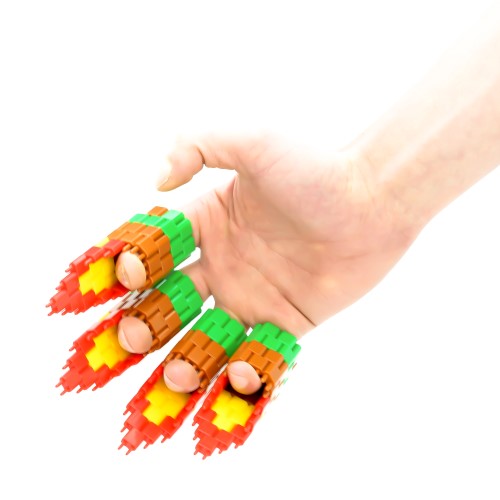
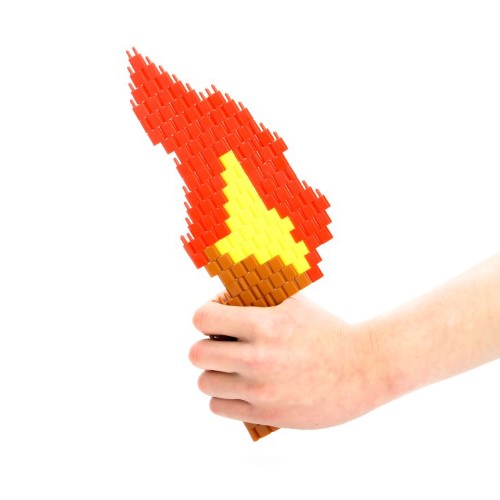
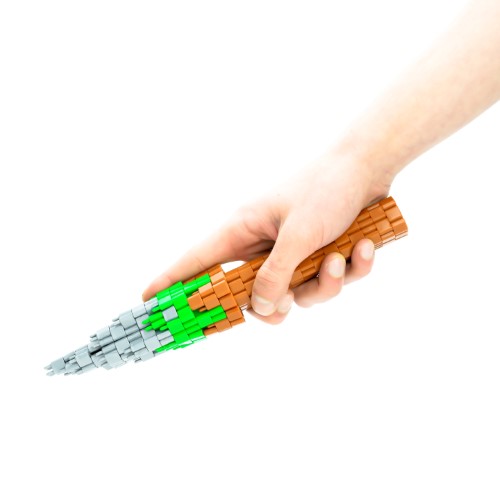
Creating Wearable Models
Just like the previously discussed castle walls, which are simply a flat row of Pinblocks that was bent (or folded) at precise spots, wearable models could be made by making a flat row of Pinblocks and wrapping them around any one of your body parts.
Once Pinblocks wrap around your wrist, for example, connect them together using another block or two and Bam, you have a wearable Pinblock model. Get creative with this since possibilities of custom gear are limitless.